This buyer guide is written for decorative, costume and promotional custom masks. It is not guidance for medical, surgical or respiratory protective equipment.
Introduction
Custom event masks are often judged in a few seconds: when a guest receives one, when a campaign image is photographed, or when a venue team opens the cartons before an activation. That makes the production process important. A visually strong concept still needs a clear route for sampling, factory testing, shipment inspection, packing and handover.
This guide is for decorative, costume and promotional event masks. It does not cover medical or respiratory protective equipment. The workflow can be adapted for product launches, themed venues, hospitality programs, seasonal retail events, brand activations and promotional distribution, but the details should always be tied to the actual product application and customer requirements.
1. Translate the event brief into production decisions
Start by describing the event use case in operational terms. Will the mask be worn briefly, displayed, handed out, included in a gift pack, photographed, sold at retail or used as part of a themed environment? Who receives it, how many units are needed, where will it be delivered and when must it be ready? These questions shape the production route more effectively than a visual mood board alone.
Add the visual requirements that must be protected. This might include a distinctive silhouette, a campaign colour, a matte or metallic-looking surface, a logo location, an accessory, a specific package or a quantity breakdown by venue. If a concept image contains elements that are not intended to be produced, say so. The factory needs to know what is an inspiration and what is a production requirement.
For event work, timing should be discussed as a sequence rather than a single date. A realistic route includes brief clarification, sample development, buyer feedback, production booking, bulk production, inspection, packing and collection. If there is a fixed event date, work backwards from the arrival date and leave time for decisions that cannot be recovered after cartons are closed.
2. Build a sample plan that answers the right questions
A sample should prove the decisions that matter for the event. For a visual activation, that may include scale, material, colour, finish, logo treatment and how the mask appears under normal lighting. For a worn piece, fit, edge comfort and attachment method may also need review. For a handout item, handling, count configuration and packing behaviour can be more important than a retail gift box.
Define the purpose of each sample. A prototype may be used to confirm form; a finish sample may be used to confirm colour or coating; a pre-production reference may be used to confirm the product and pack-out route before a bulk run. Confusing these stages creates late revisions because a buyer may assume one sample proves details that were not included.
A sample approval should state what is approved, what remains provisional and what will be checked again before shipment. This simple discipline is more valuable than a vague “looks good” approval.
Keep feedback specific and consolidated. Instead of “the finish is wrong,” explain the location, expected result and comparison reference. Instead of “make the straps stronger,” identify the attachment point, intended handling and any preferred visual outcome. One coordinated feedback list helps the supplier update the sample without trying to reconcile contradictory comments from separate teams.
Set a decision owner and approval timeline
Event programs frequently involve marketing, procurement, creative agencies, venue operations and logistics teams. Each group may have a valid view of the product, but the factory needs one consolidated direction. Name a decision owner who can issue final feedback, maintain the approval record and identify which points are still open. This does not remove collaboration; it prevents mutually incompatible comments from becoming a production instruction.
Create a simple timetable around the fixed date. Include the deadline for artwork, sample feedback, pre-production sign-off, final quantity confirmation, packing approval, inspection and forwarder collection details. Then allow a decision buffer for revisions. A production schedule is more trustworthy when it names the approvals it depends on instead of presenting a single optimistic completion date.
When an event date cannot move, distinguish the essential requirements from the desirable ones. A factory can advise which changes affect the critical path, but the buyer should decide whether a late visual refinement is worth the impact on production or logistics. This is a practical way to protect the event rather than a reason to lower the standard of the product.
3. Design quality control around the approved reference
Quality control for custom event masks begins before production. The buyer and factory should agree on the visible and practical details that define acceptance. Depending on the project, those points can include shape, colour direction, surface finish, logo placement, accessory position, edge finish, product count, inner-packing configuration and carton marks.
In-process review can help identify whether the work is drifting from the approved reference before it reaches final packing. For a decorative product, factory testing may be practical rather than laboratory-based: checking a sample against the approved surface, reviewing an attachment method, verifying packing protection or confirming that a set count is correct. Do not attach unverified performance claims to a product; use a test method only when it is relevant to the application and agreed by the parties involved.
Shipment inspection should be planned before the final production stage, especially if the buyer wants a third-party inspector. Confirm the timing, who will attend, what documents or samples are needed and whether the inspector will review finished products before or after final packing. An inspection cannot repair an undefined specification, so the approval reference remains the foundation.
4. Make packing part of the event experience
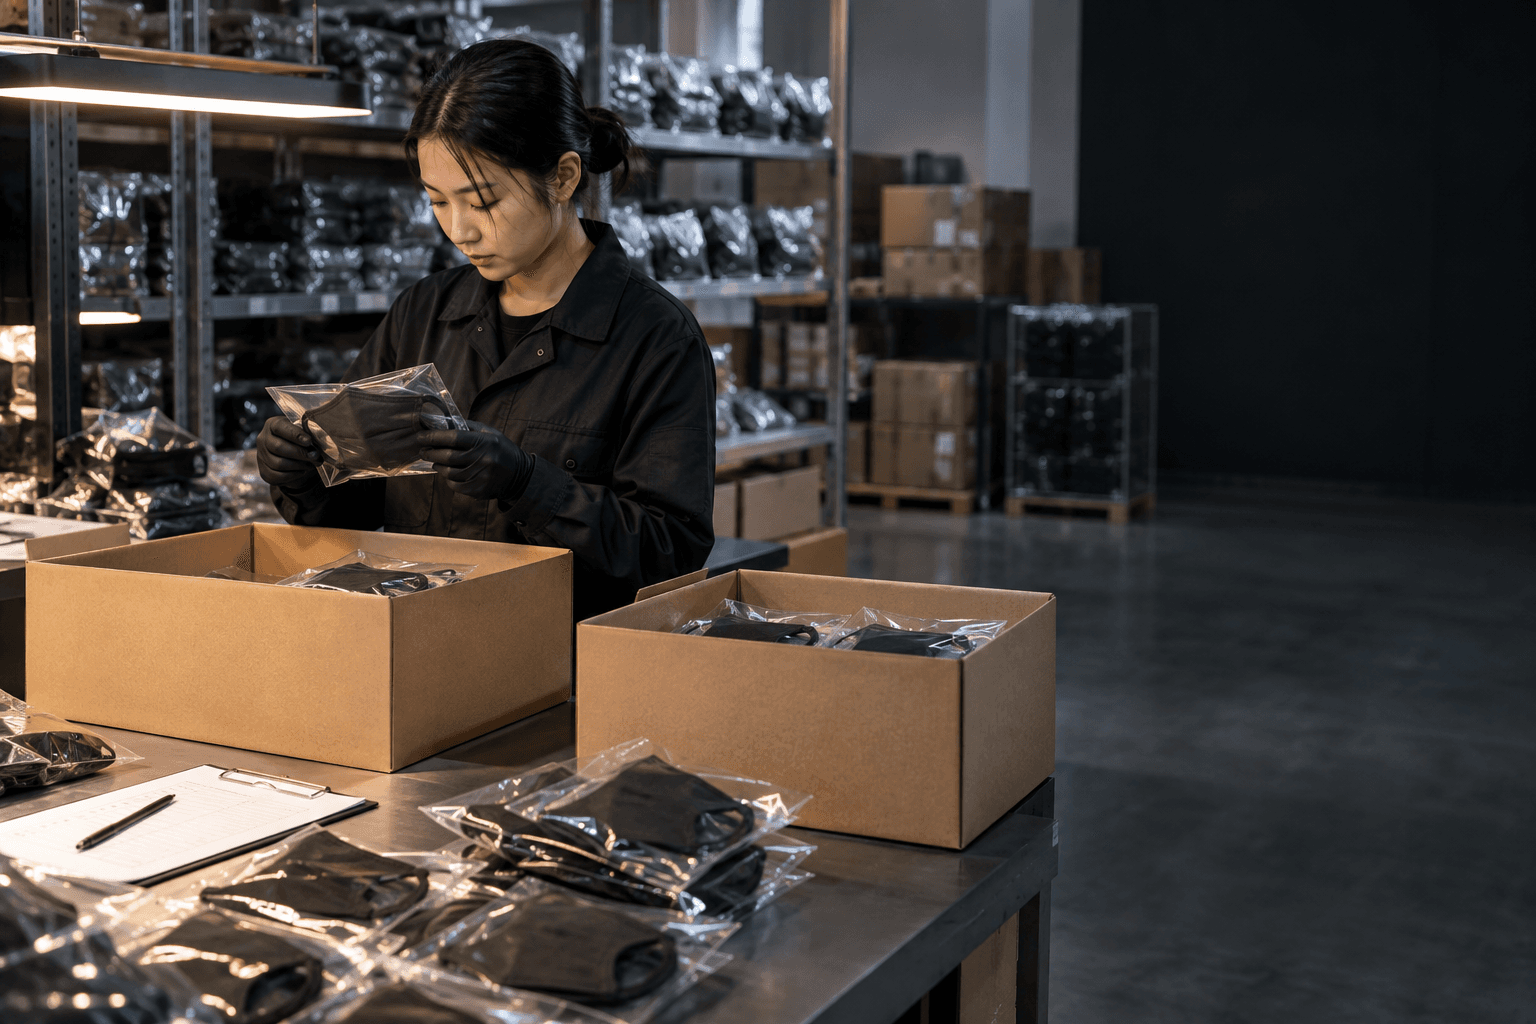
Packing is often the last production decision discussed and the first one noticed by an event team. A mask with a detailed surface, decoration or accessory may need individual separation, protective inserts, bags or dividers to prevent contact during transit. A promotional distribution program may instead need easy counting, inner packs sized for venue teams and clear external labels.
Map the handling journey. Will cartons go to one warehouse, several venues or a fulfilment partner? Will staff need to open and distribute products quickly? Are there gift boxes or printed inserts that must arrive in a particular orientation? The answers affect the pack-out configuration and carton marking. A product that survives international transport but is difficult to distribute at an event has not fully met the brief.
Ask for pack-out photos or a packing sample when the presentation is important. These are especially useful when the event includes multiple SKUs, size groups, colour variants or venue allocations. They give the buyer a practical way to review the shipment preparation before collection.
Plan the venue handoff, not only the factory handoff
The receiving team may never have seen the approved sample. Give them a simple release summary with the SKU or colour breakdown, carton labels, total counts and any basic opening or distribution instruction. For a campaign with multiple locations, use carton marks that allow a warehouse or venue team to identify the allocation without opening every carton. This is especially valuable when products are packed in counted inner sets for different rooms, dates or guest groups.
PLAN THE PROJECT
Need a practical material or production route?
Send your reference, quantity and delivery market. We will identify the questions worth resolving before sampling.
Send your requirementsInstallation preparation may also be needed for masks that form part of a display, photo zone or gift activation. Confirm whether the shipment needs separated hardware, individual protective bags, display inserts or a layout reference. Keep these requirements practical and linked to the product application. The objective is to avoid a beautiful product arriving in a configuration that is difficult to deploy on site.
Before the order leaves the factory, check who is responsible for the first receiving count. A shipment inspection can verify the factory-side release, but it cannot substitute for a defined arrival process. Clear handover reduces the risk of a last-minute event team searching for an unmarked variant or opening a carton in the wrong sequence.
5. Plan export handover before the event deadline becomes urgent
Export handover requires coordination between the factory, buyer and logistics partner. Clarify whether the buyer will nominate a freight forwarder, who provides collection details, what carton information is needed and whether any special handling or delivery appointment is required. The factory can prepare the order for collection, but the commercial and transport terms should be understood by the parties before the goods are released.
If wood packaging material such as pallets, crates or dunnage is used, confirm the applicable destination requirement. The International Plant Protection Convention explains the role of ISPM 15 in the international movement of wood packaging material. This is a logistics point, not a decorative mask specification, but it can affect a shipment if it is ignored.
For destination-market product requirements, start with the item’s intended user and sales route. The European Commission’s product-compliance guidance notes that manufacturers and importers have responsibilities around applicable requirements, traceability and relevant information. Buyers should confirm any event, retailer, marketplace or local requirements with the appropriate advisers rather than assuming that a generic custom product route covers every obligation.
6. Use a release checklist before shipment inspection
A short release checklist makes the final stage easier to manage. It should pull together the approved product reference, colour or finish reference where relevant, accessory requirements, final quantity, inner-packing configuration, carton marks, destination, collection contact and any documents that have been agreed. The checklist does not replace inspection; it gives inspection a defined target.
- Approved sample or photo reference available to the production and inspection teams
- Critical visual details listed: colour, finish, logo, accessories and edge treatment
- Quantity and SKU breakdown confirmed
- Inner pack, outer carton and marking instructions confirmed
- Destination and forwarder collection details confirmed
- Buyer sign-off route and release contact identified
This kind of preparation helps both sides. The buyer has a clear view of what will be released, and the factory can flag a missing decision while there is still time to act. It also creates more useful shipment inspection records, because the findings can be compared against an agreed requirement rather than a general expectation.
7. Match inspection points to the event risk
Not every detail deserves the same level of inspection. Start with the failure that would cause the greatest problem at the event. For a branded photo activation, the highest-risk points may be logo placement, campaign colour and visual finish. For a guest handout, quantity accuracy, attachment condition and inner-pack counts may be more important. For a retail pop-up, presentation, labels and product protection can deserve closer review.
Create a short list of critical, major and routine checks. Critical does not have to imply product safety; it simply means a defect that would make the product unusable for the agreed event purpose. Major might include a clearly inconsistent finish or wrong accessory, while routine checks cover details that can be reviewed within the agreed visual tolerance. Agree the list before the inspector arrives so the report has a useful decision framework.
Photographs help, but they should be traceable to the inspection context. Ask for photos that show the product against the approved reference, the packing configuration and carton markings where relevant. If a finding needs buyer direction, decide who can issue a release, rework or hold instruction. This avoids a situation where cartons remain in limbo because the commercial owner cannot reach the creative approver.
8. Handle changes without losing control of the order
Changes can be sensible in an event project: an updated logo, a revised venue count, a new carton allocation or an improvement to a finish. The risk is not change itself; the risk is unrecorded change. Every revision should state what changed, whether price or timing is affected, which sample or artwork version now governs, and whether already completed work can remain as is.
Do not rely on a final phone call or a screenshot in a group chat as the sole approval record. A short email or order revision summary protects everyone. It lets the factory update its production and inspection references, lets the buyer maintain a correct record for stakeholders and reduces the chance that old packaging artwork is used after a last-minute campaign update.
For large or complicated programs, freeze non-essential design changes after the pre-production reference is approved. This gives production, packing and logistics teams a stable target. If a new request is unavoidable, ask the factory for the operational consequence before confirming it.
9. A field-ready event mask checklist
Before authorising bulk production, check that the team can answer these questions:
- Who is the final approver for sample, artwork and shipment release?
- What does the product need to do at the event: wear, display, handout, retail sale or gift inclusion?
- Which surface, colour, logo, accessory and pack-out details are non-negotiable?
- What quantity must reach each destination, and how should cartons be marked for that allocation?
- Which inspection points are critical to the event experience?
- Who receives the goods, performs the arrival count and gives the venue team the product information?
This checklist is deliberately operational. It converts creative intent into choices that a factory, inspector and receiving team can act on. Completing it early is one of the most reliable ways to keep an event program calm during its final weeks.
Conclusion
An effective event mask programme combines creative direction with operational discipline. The sample should answer the right questions, quality control should follow the approved reference, packing should support the distribution route and export handover should be planned before the event date is at risk.
For a custom event, hospitality or promotional mask project, send MaskVox your visual references, quantity, event date, destination and packing expectations. We will help turn the brief into a practical sample, production and shipment route.
Ready to discuss your product?
Share your reference images, target quantity and market. Our Shenzhen team will help turn the brief into a practical development route.
Email MaskVoxFAQ
Questions buyers ask next.
What should an event mask sample prove before production?
It should confirm the design direction, fit or handling considerations, material and finish, branding details, accessories and any packaging element that affects the delivered experience.
What is included in shipment inspection for custom masks?
The inspection plan should reflect the approved reference and can cover visible workmanship, finish, product count, accessories, packing method and carton marks.
Do export cartons need special preparation?
Carton configuration depends on the product and destination. If wood packaging material is used for pallets, crates or dunnage, confirm the applicable ISPM 15 requirements with the relevant parties.
FURTHER READING